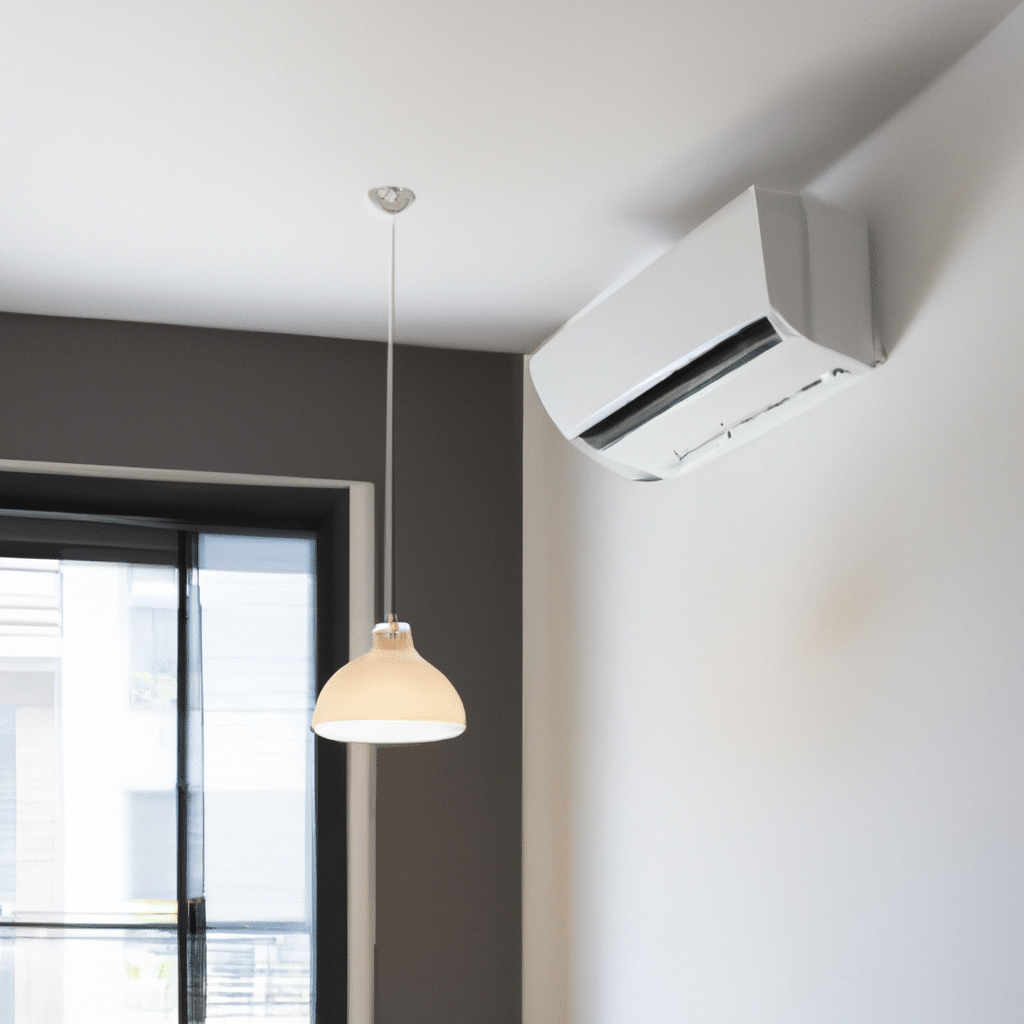
Are you tired of sweating through hot summers in your small apartment? Do you dream of a cool and comfortable living space, even when the temperatures soar outside? Well, you’re in luck! In this comprehensive guide, we will walk you through the process of installing a wall-mounted air conditioning unit in your small apartment. With our step-by-step instructions and expert tips, you’ll be able to say goodbye to those unbearable summers and enjoy a refreshing oasis right in your own home.

Why Choose a Wall Mounted Air Conditioning Unit?
Before we dive into the installation process, let’s first understand why a wall-mounted air conditioning unit is the ideal choice for small apartments. Unlike traditional window units, wall-mounted ACs offer several advantages:
- Space-saving: Wall-mounted units are compact and designed to be mounted on the wall, saving valuable floor space in your small apartment.
- Energy-efficient: These AC units are highly efficient, providing cool air directly into the room without any loss through windows or ducts.
- Easy installation: With the right tools and instructions, installing a wall-mounted AC unit is a straightforward process that can be done by most homeowners.
- Aesthetically pleasing: These units blend seamlessly with your interior decor and don’t obstruct the view from your windows.
Tools and Materials You’ll Need
Before you begin the installation process, gather the following tools and materials:
- Wall-mounted air conditioning unit: Choose a unit that matches the size and cooling capacity suitable for your small apartment.
- Mounting bracket: This provides support and stability for the AC unit.
- Drill and drill bits: You’ll need a drill to create holes for the bracket and electrical connections.
- Level: Ensure the unit is installed straight by using a level.
- Screwdriver: A screwdriver is necessary for securing the bracket and attaching the unit.
- Electrical wire and connectors: You’ll need these to connect the AC unit to a power source.
- Insulation foam: This helps seal any gaps and prevent air leakage.
- Duct tape: Use duct tape to secure the insulation foam and ensure a tight seal.
Step-by-Step Installation Guide
Follow these step-by-step instructions to install your wall-mounted air conditioning unit:
Step 1: Choose the Ideal Location
Select a suitable location for your AC unit. Consider the following factors:
- Interior wall: Choose a wall that doesn’t face direct sunlight to prevent excessive heat gain.
- Proximity to windows: Place the unit near a window to allow for easy installation of the exhaust hose.
- Accessibility: Ensure the location allows easy access for maintenance and cleaning.
Step 2: Install the Mounting Bracket
- Use a stud finder to locate the studs in the wall. Mark the positions where the bracket will be attached.
- Drill pilot holes into the studs at the marked positions.
- Secure the mounting bracket to the wall using screws and a screwdriver. Make sure it is level and securely attached.
Step 3: Prepare the AC Unit
- Remove the front cover of the AC unit.
- Attach the mounting plate to the back of the unit using the provided screws.
- Slide the unit onto the mounting bracket and secure it in place.
Step 4: Connect the Electrical Wiring
- Turn off the power to the designated electrical circuit.
- Connect the electrical wires from the unit to the power source, following the manufacturer’s instructions.
- Use electrical connectors to secure the connections and ensure proper insulation.
Step 5: Install the Exhaust Hose
- Measure the distance between the unit and the window.
- Cut the exhaust hose to the appropriate length, ensuring a snug fit.
- Attach one end of the hose to the unit and the other end to the window adapter.
- Secure the hose and window adapter in place using duct tape.
Step 6: Seal and Insulate
- Apply insulation foam around the edges of the unit and any gaps between the unit and the wall.
- Use duct tape to secure the insulation foam and ensure a tight seal.
Step 7: Test and Enjoy
- Turn on the power to the AC unit.
- Set your desired temperature and fan speed.
- Allow the unit to cool the room and enjoy the refreshing cool air in your small apartment.
Conclusion
Installing a wall-mounted air conditioning unit in your small apartment doesn’t have to be a daunting task. By following our step-by-step guide, you can successfully install the unit and bid farewell to hot summers. Remember to choose the ideal location, install the mounting bracket securely, connect the electrical wiring properly, and seal any gaps to maximize efficiency. With your newly installed wall-mounted AC, you can create a comfortable and cool living space, no matter how hot it gets outside. So, say goodbye to hot summers and embrace the refreshing oasis of your small apartment.

